Projector Pilot publishes your projector's live state and every control to Home Assistant, Hubitat and any webhook you like. Set it up once, and your smart home drives the projector on its own - no phone on the network, no cloud in the middle.
Home Automation turns Projector Pilot from a remote in your hand into a device your whole house can see. It exposes what the projector is doing - power, input, color mode, the picture figures, lamp hours - and hands your smart home a control for everything the app can change.
Settings › Home Automation is the hub. Pick the platform you run - Home Assistant, Hubitat or Webhooks - and set it up there. You can wire up more than one at a time; they are independent.
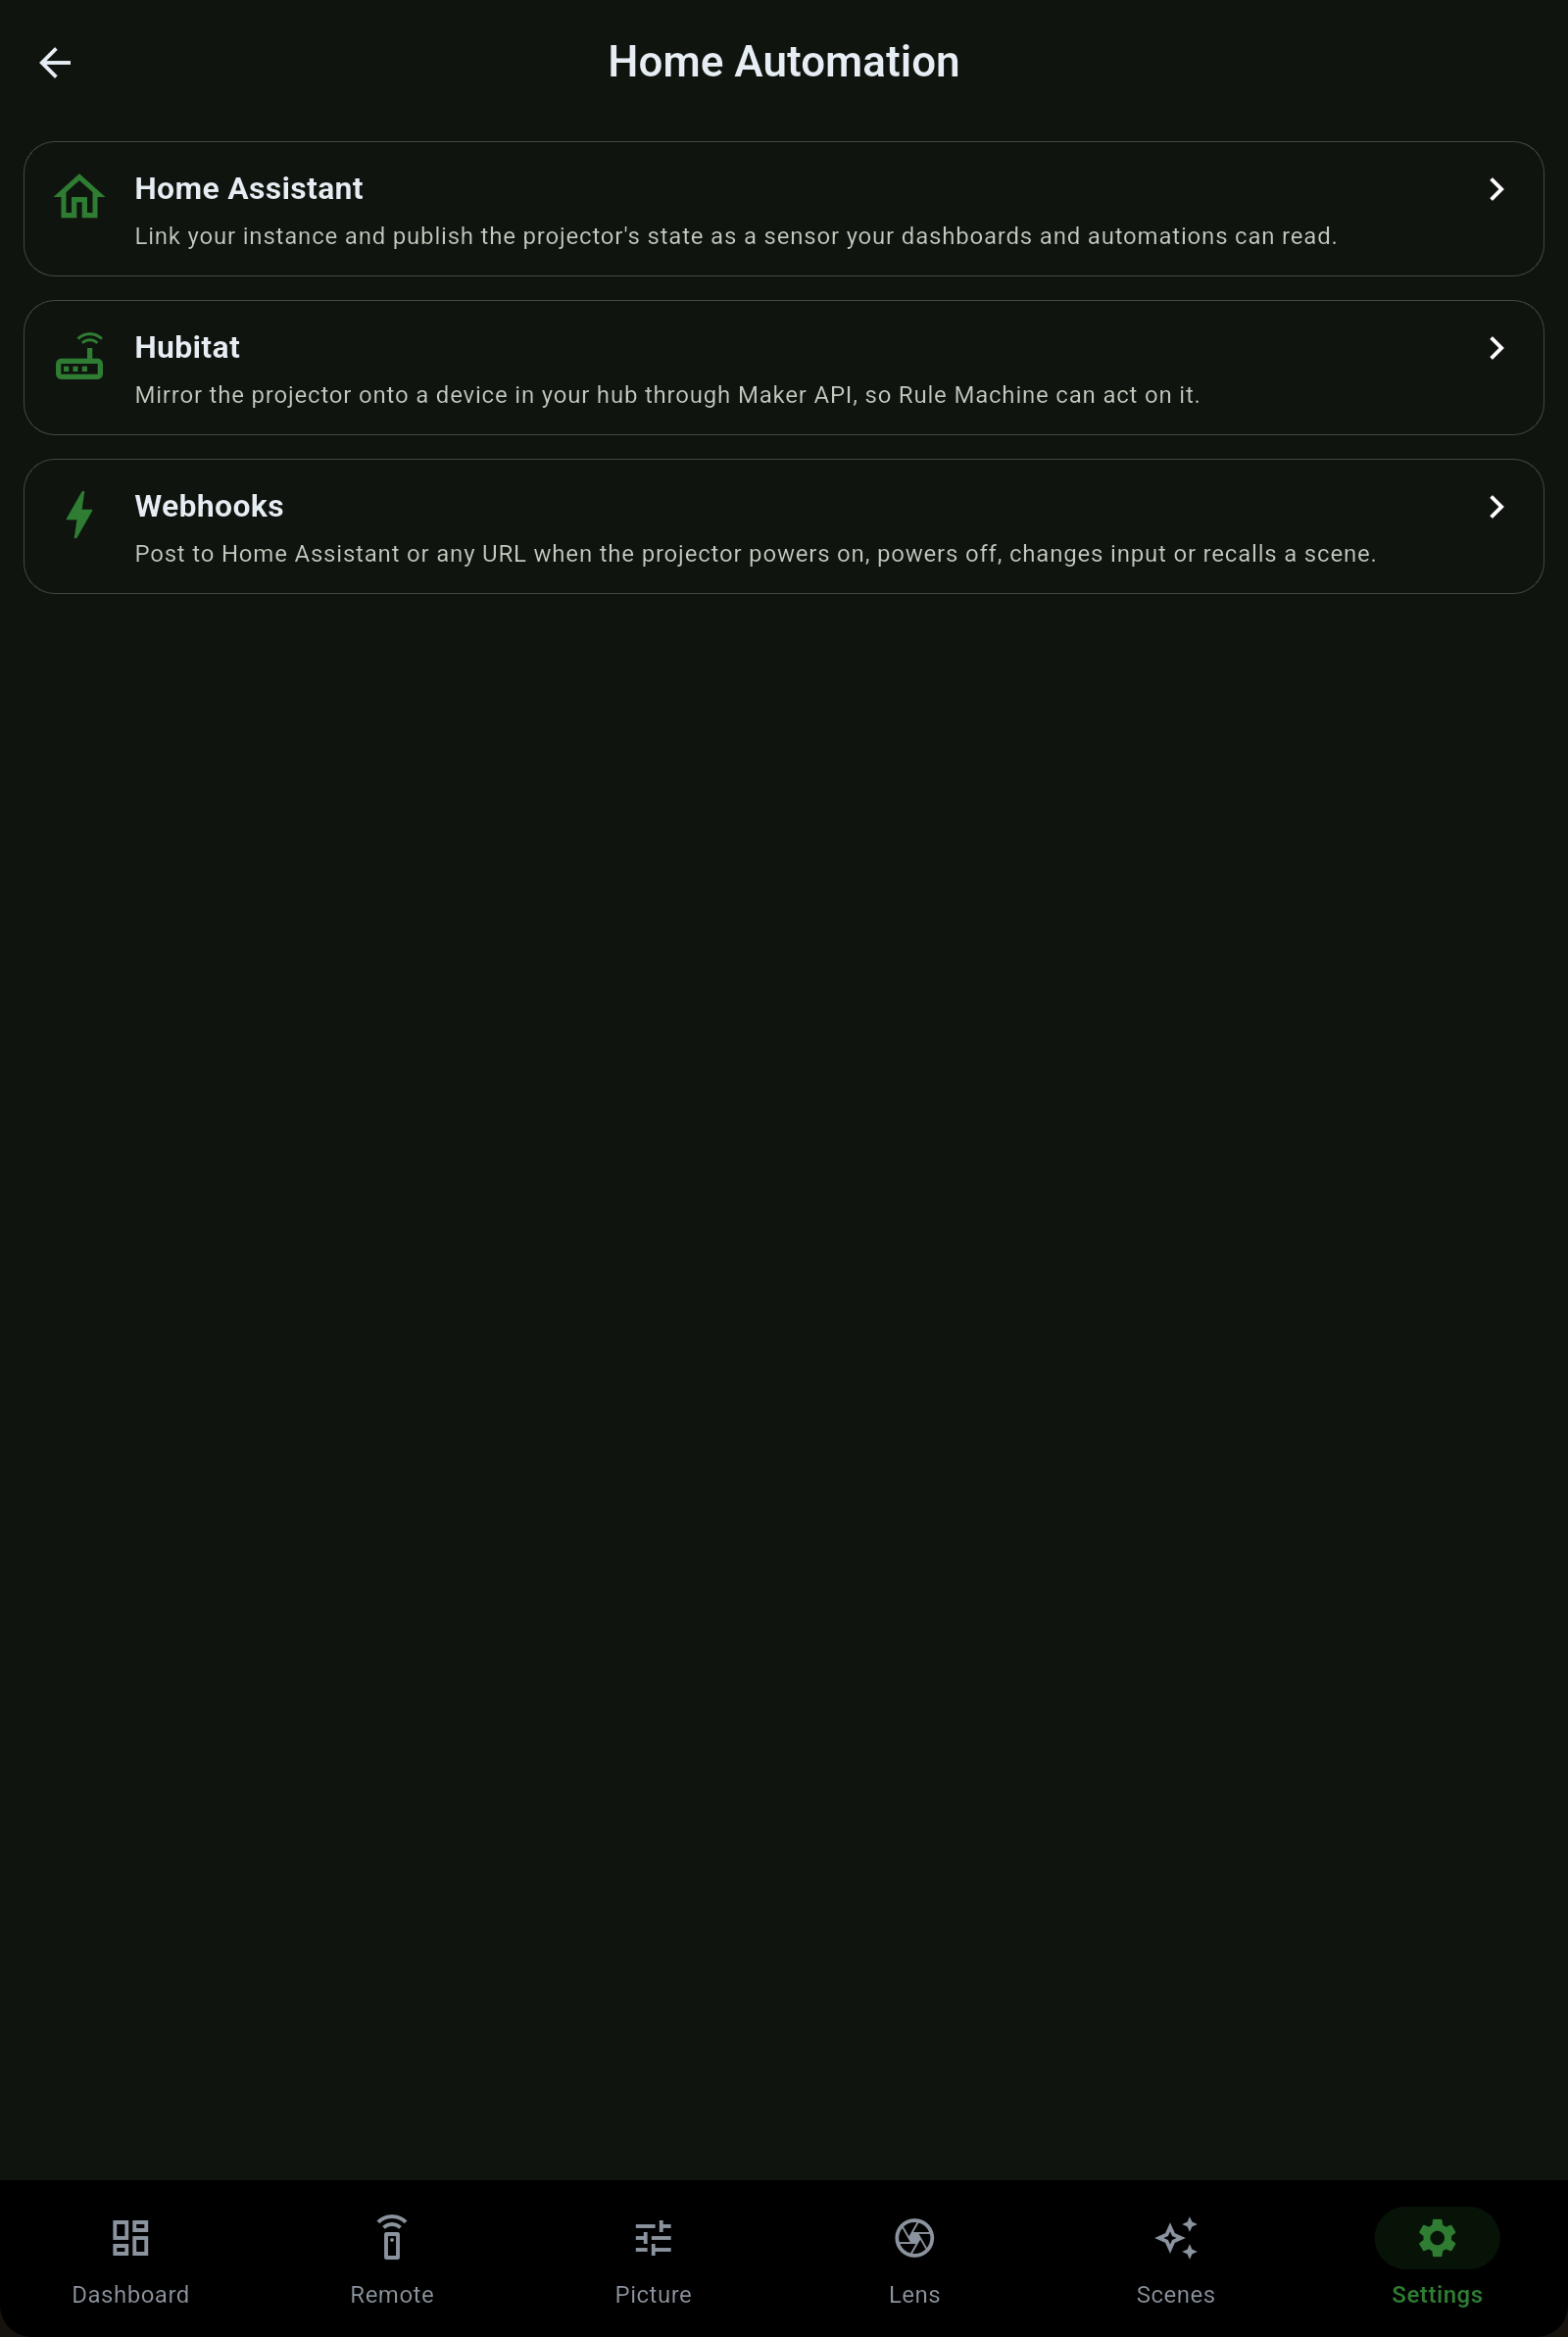
Sign in from the app, publish the projector as a sensor, paste one block into your configuration, and sync. From then on Home Assistant drives the projector itself.
http://homeassistant.local:8123 or its IP), then tap Sign in. It is a browser sign-in against your own instance - there is no token to paste. Use your normal Home Assistant login, two-factor and all.sensor.projector_pilot_epson_qb1000b_qb1000w, carrying power, input, color mode, the picture figures and lamp hours.configuration.yaml, restart Home Assistant, then tap Sync With HA.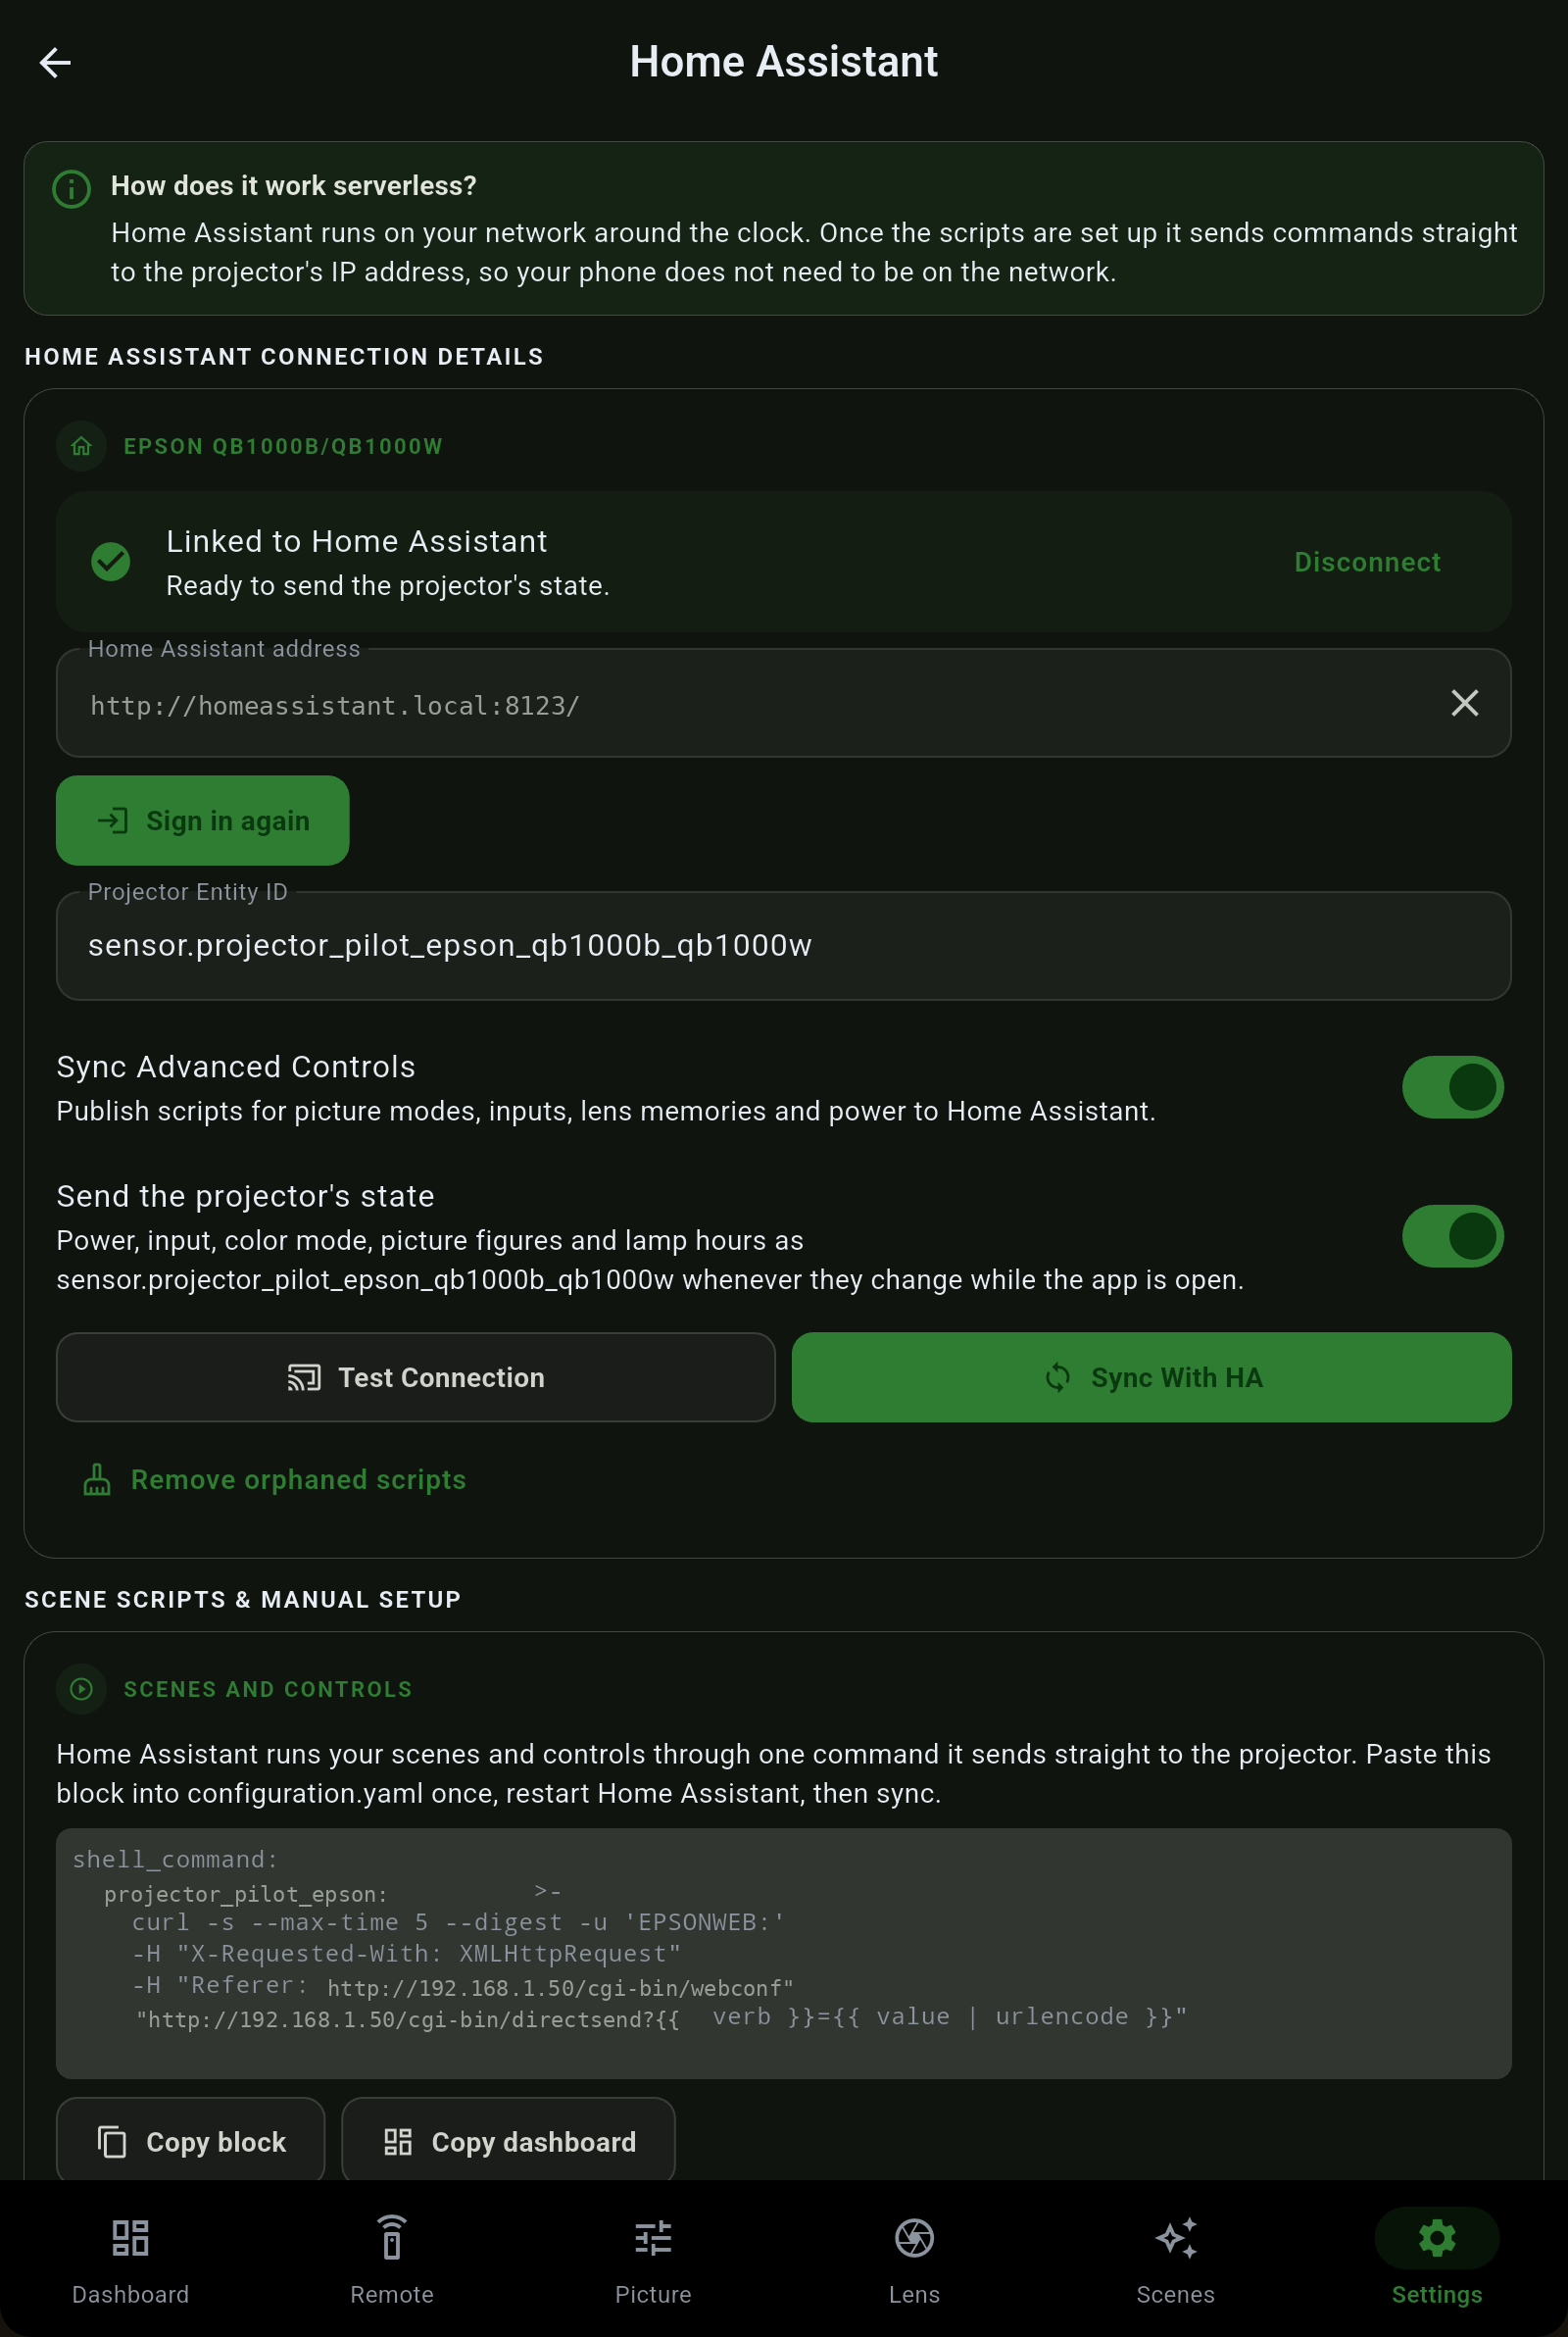
This is the whole serverless trick. The app writes one command Home Assistant runs to talk to the projector's Web Control, and every script it syncs calls that command with a different verb. Tap Copy block in the app and paste it into configuration.yaml. The example below is illustrative - the app fills in your projector's own address and command name:
shell_command:
  projector_pilot_epson: >-
    curl -s --max-time 5 --digest -u 'EPSONWEB:'
    -H "X-Requested-With: XMLHttpRequest"
    -H "Referer: http://192.168.1.50/cgi-bin/webconf"
    "http://192.168.1.50/cgi-bin/directsend?{{ verb }}={{ value | urlencode }}"
Example only. The app generates yours with the projector's real IP and a name derived from its serial.
curl runs on the Home Assistant box, not your phone. Home Assistant reaches the projector's IP directly over Web Control, so an automation fires whether or not the app is open and whether or not your phone is even home. The EPSONWEB digest user is the Web Control login; the app uses the Web Control password already saved for the projector.shell_command is actually there, so you find a typo before you build anything on top of it.After a sync, your Scenes are not stuck inside the app. Each one, plus power, each input, each color mode and each lens memory your projector actually has, is written as a Home Assistant script.
You do not have to hand-build a Lovelace view. Tap Copy dashboard on the Home Assistant screen and the app hands you a complete dashboard: one card with the projector's state and a button for every Scene and control it synced.
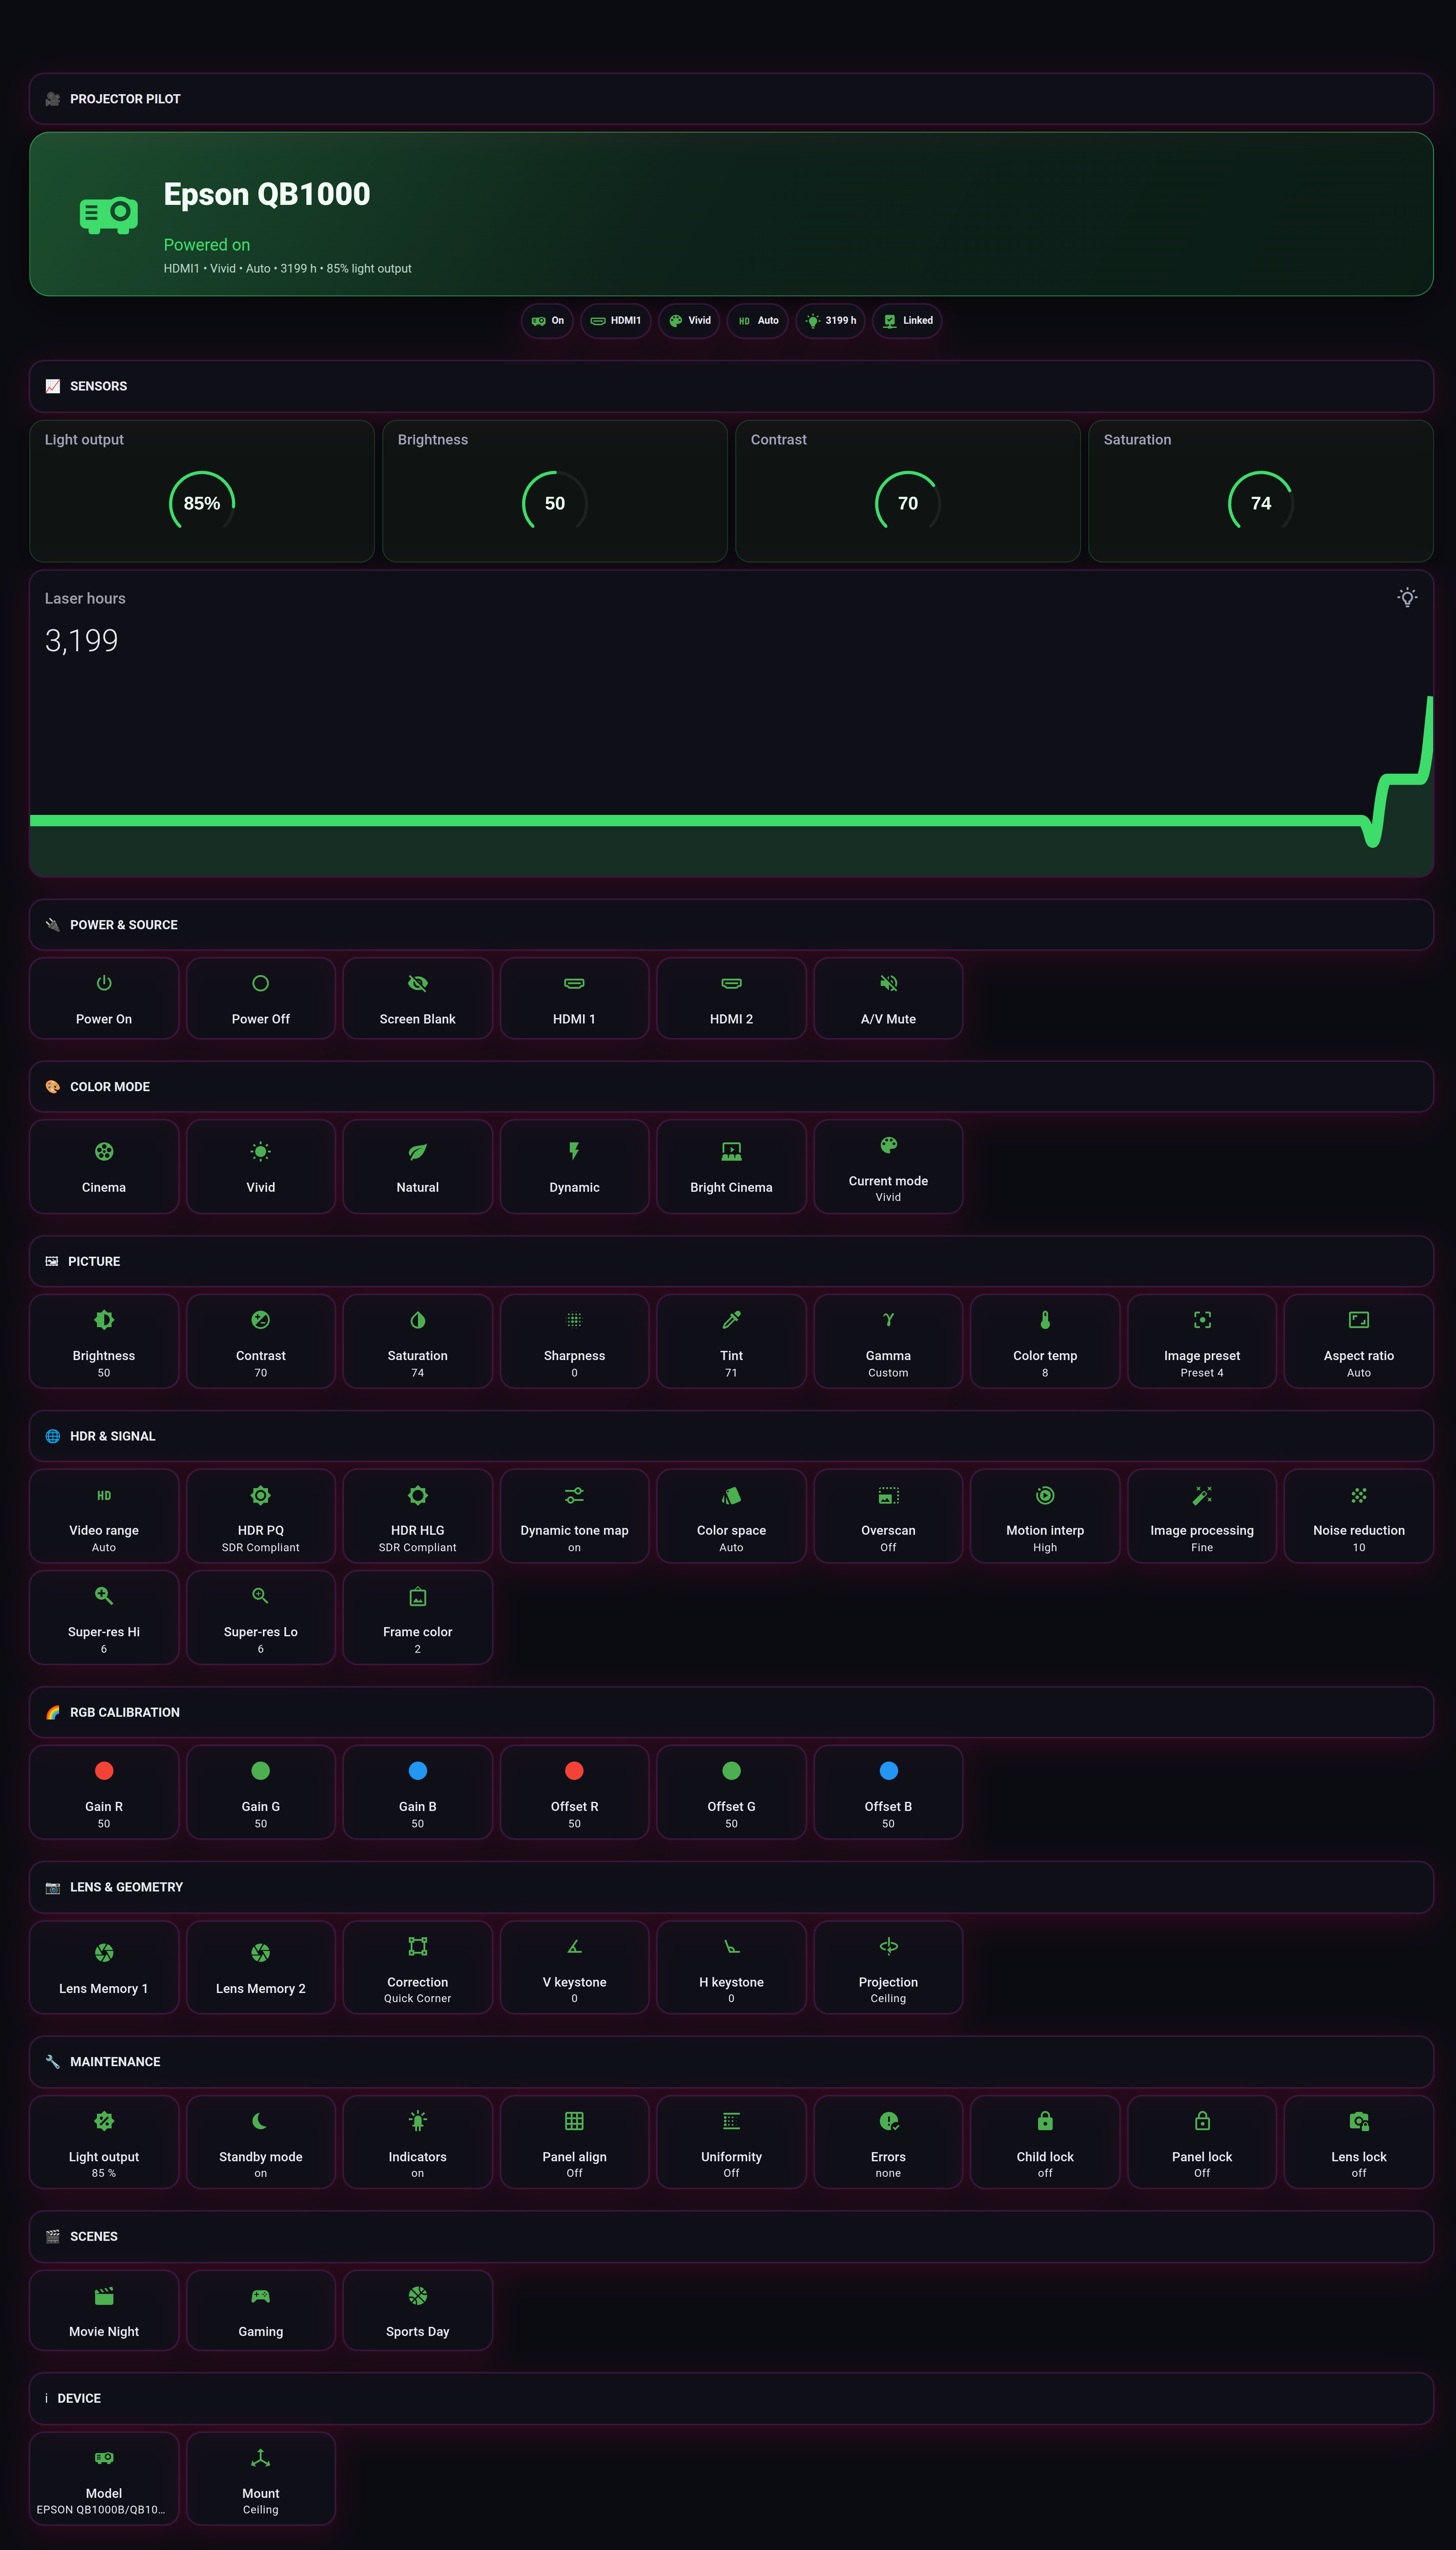
The copied YAML looks something like this - a state card plus a button for each control (illustrative snippet):
views:
  - title: Projector
    cards:
      - type: entity
        entity: sensor.projector_pilot_epson_qb1000b_qb1000w
        name: Projector
      - type: button
        name: Power On
        tap_action:
          action: perform-action
          perform_action: script.turn_on
          target:
            entity_id: script.projector_pilot_power_on
      - type: button
        name: Movie Night
        tap_action:
          action: perform-action
          perform_action: script.turn_on
          target:
            entity_id: script.projector_pilot_scene_movie_night
Example only. Your dashboard carries your projector's real entity and your own Scenes.
On Hubitat, Projector Pilot mirrors the projector onto a device in your hub through the Maker API, so Rule Machine can read and act on power, mute and input.
Webhooks are the catch-all. The app posts to a URL of yours when the projector powers on, powers off, changes input or recalls a Scene - a Home Assistant webhook, Node-RED, IFTTT, or anything that takes JSON.
http://homeassistant.local:8123/api/webhook/your-id.The default payload is plain JSON - an event, the projector, and the value that changed:
{
  "event": "scene_recalled",
  "projector": "Epson QB1000B/QB1000W",
  "scene": "Movie Night",
  "power": "on",
  "input": "HDMI1",
  "color_mode": "Cinema",
  "timestamp": "2026-09-23T20:14:07Z"
}
Example payload. An input-change or power event carries the fields relevant to it.
Make sure the address you entered is the one you actually reach Home Assistant on, including the port (usually :8123). The sign-in is a real browser login against your instance, so your username, password and two-factor code all apply. On a phone the sign-in completes whether the in-app browser hands the result back or the local callback returns first; if it still stalls, close the sheet and tap Sign in again.
The sensor is published while the app is open and Send the projector's state is on, so open the app and confirm that toggle. Then check Developer Tools › States in Home Assistant and filter on projector_pilot. A projector in standby publishes very little; wake it and the readings fill in.
The scripts are written by Sync With HA, which needs the shell_command block already pasted into configuration.yaml and Home Assistant restarted once. Run Test Connection first - it tells you whether the block is present. Then Sync again. If old, dead scripts are cluttering the list, use Remove orphaned scripts.
That is the point of the shell_command block - it is what lets Home Assistant reach the projector's IP on its own. If it only works with the app open, the block is probably not pasted or Home Assistant was not restarted after pasting it. Confirm with Test Connection, restart Home Assistant, and Sync.
Home Automation is a one-time add-on. No subscription, no account, no cloud. One purchase unlocks it on every platform you own.
 Projector Pilot