Shift, focus and zoom your projector's motorized lens from a precise pad, recall and save the lens memories your projector supports, and read the exact position back off the chassis. Every figure comes from the projector, and a position it cannot confirm is shown as unknown - never dressed up as a lock.
The Lens tab has two sub-tabs: Lens for the day-to-day shift, focus, zoom and memory controls, and Installation for the one-time setup adjustments.
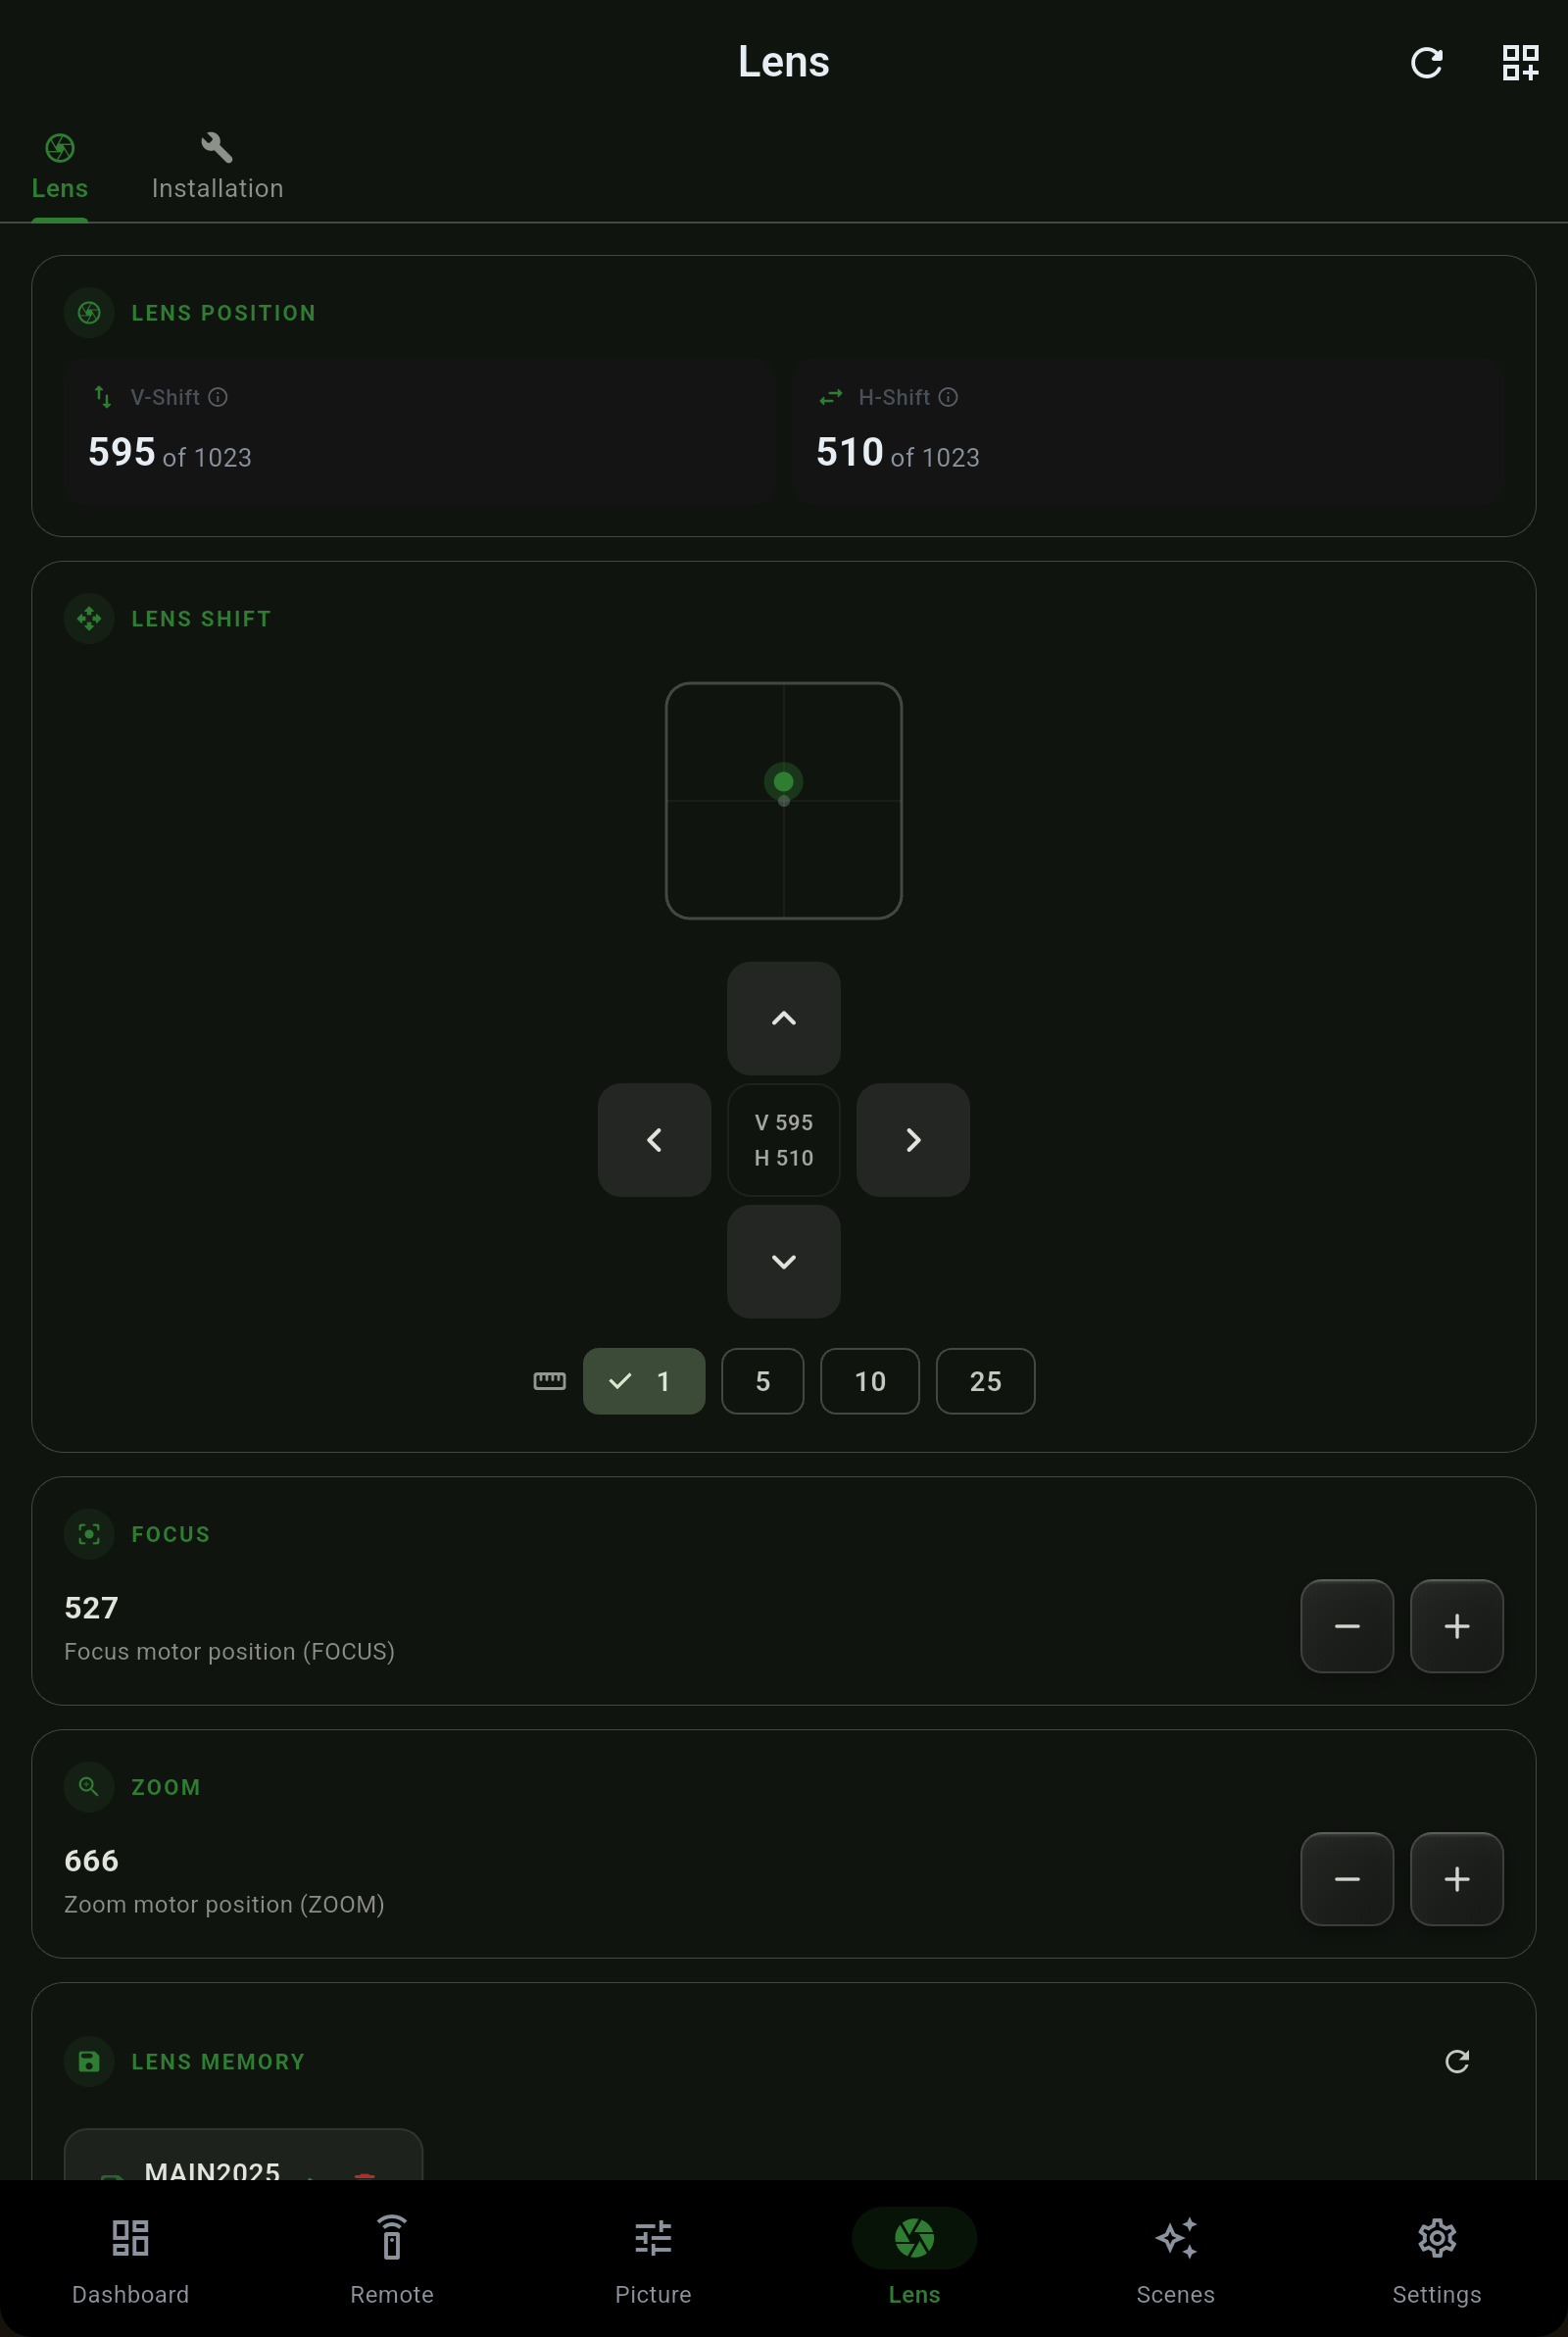
The shift pad moves the lens up, down, left and right. What changes it from a toy into a tool is the step-size selector below it: choose how far a single tap moves the lens, from fine framing to a coarse repositioning move.
The finest move. Nudge the image a hair at a time to line the edge up with your screen's frame.
A comfortable middle setting for pulling the picture into place once you are close.
Cover ground quickly while you are still roughing out the position.
The coarse move, for shoving the lens across a large part of its travel in a few taps.
Projectors with lens memory store a full shift, focus and zoom position in a named slot. Projector Pilot lists the slots your projector actually supports and lets you recall one in a tap or save the current position into it.
At the top of the Lens tab the current lens position is shown two ways: as figures and as a diagram.
Some projectors accept a lens move and carry it out, but the position they report back does not tick along with the motor. On models like the QB1000 that lag was easy to misread as a stuck lens.
The Installation sub-tab holds the geometry and installer controls you set once when the projector goes in and rarely touch again - the counterpart to the everyday lens moves on the Lens sub-tab.
 Projector Pilot