Home › User Guide › Getting started
Getting started

Add your projector

The app finds JVC D-ILA projectors on your own network and talks to them directly, on TCP port 20554. Setup takes a scan or an IP address, and the projector's network password if it has one.
First launch

The welcome screens

  1. Welcome to Projector Pilot D-ILA. A short tour of what is free, what Pro adds, and where to get help: Join the Discord, or Email the logs.
  2. Analytics. The app asks whether it may send anonymous usage analytics. It is off unless you accept, and you can change it later in Settings, About.
  3. Before you start. A checklist: phone and projector on the same local network; the projector connected by its LAN port, with its network password if it has one; and the projector's IP address, shown in its network settings.
  4. Add a projector. Choose Scan network, Add Projector by IP, or Explore Demo Mode.
Option 1

Scan the network

  • Where it looks. Each private address range your device is on, addresses 1 to 254 of that /24 subnet, on port 20554.
  • How it decides. A JVC projector greets a new connection; the scan lists a device that greets it as ready, or as busy with another controller. Progress shows how many addresses have been checked out of the total.
  • When nothing answers. "No JVC projector answered on this network." A projector that another controller, such as Home Assistant, is already connected to does not answer a scan, so add that one by its address instead.
  • No Wi-Fi. If the device has no local network the scan says "No local network found. Connect to Wi-Fi and scan again."
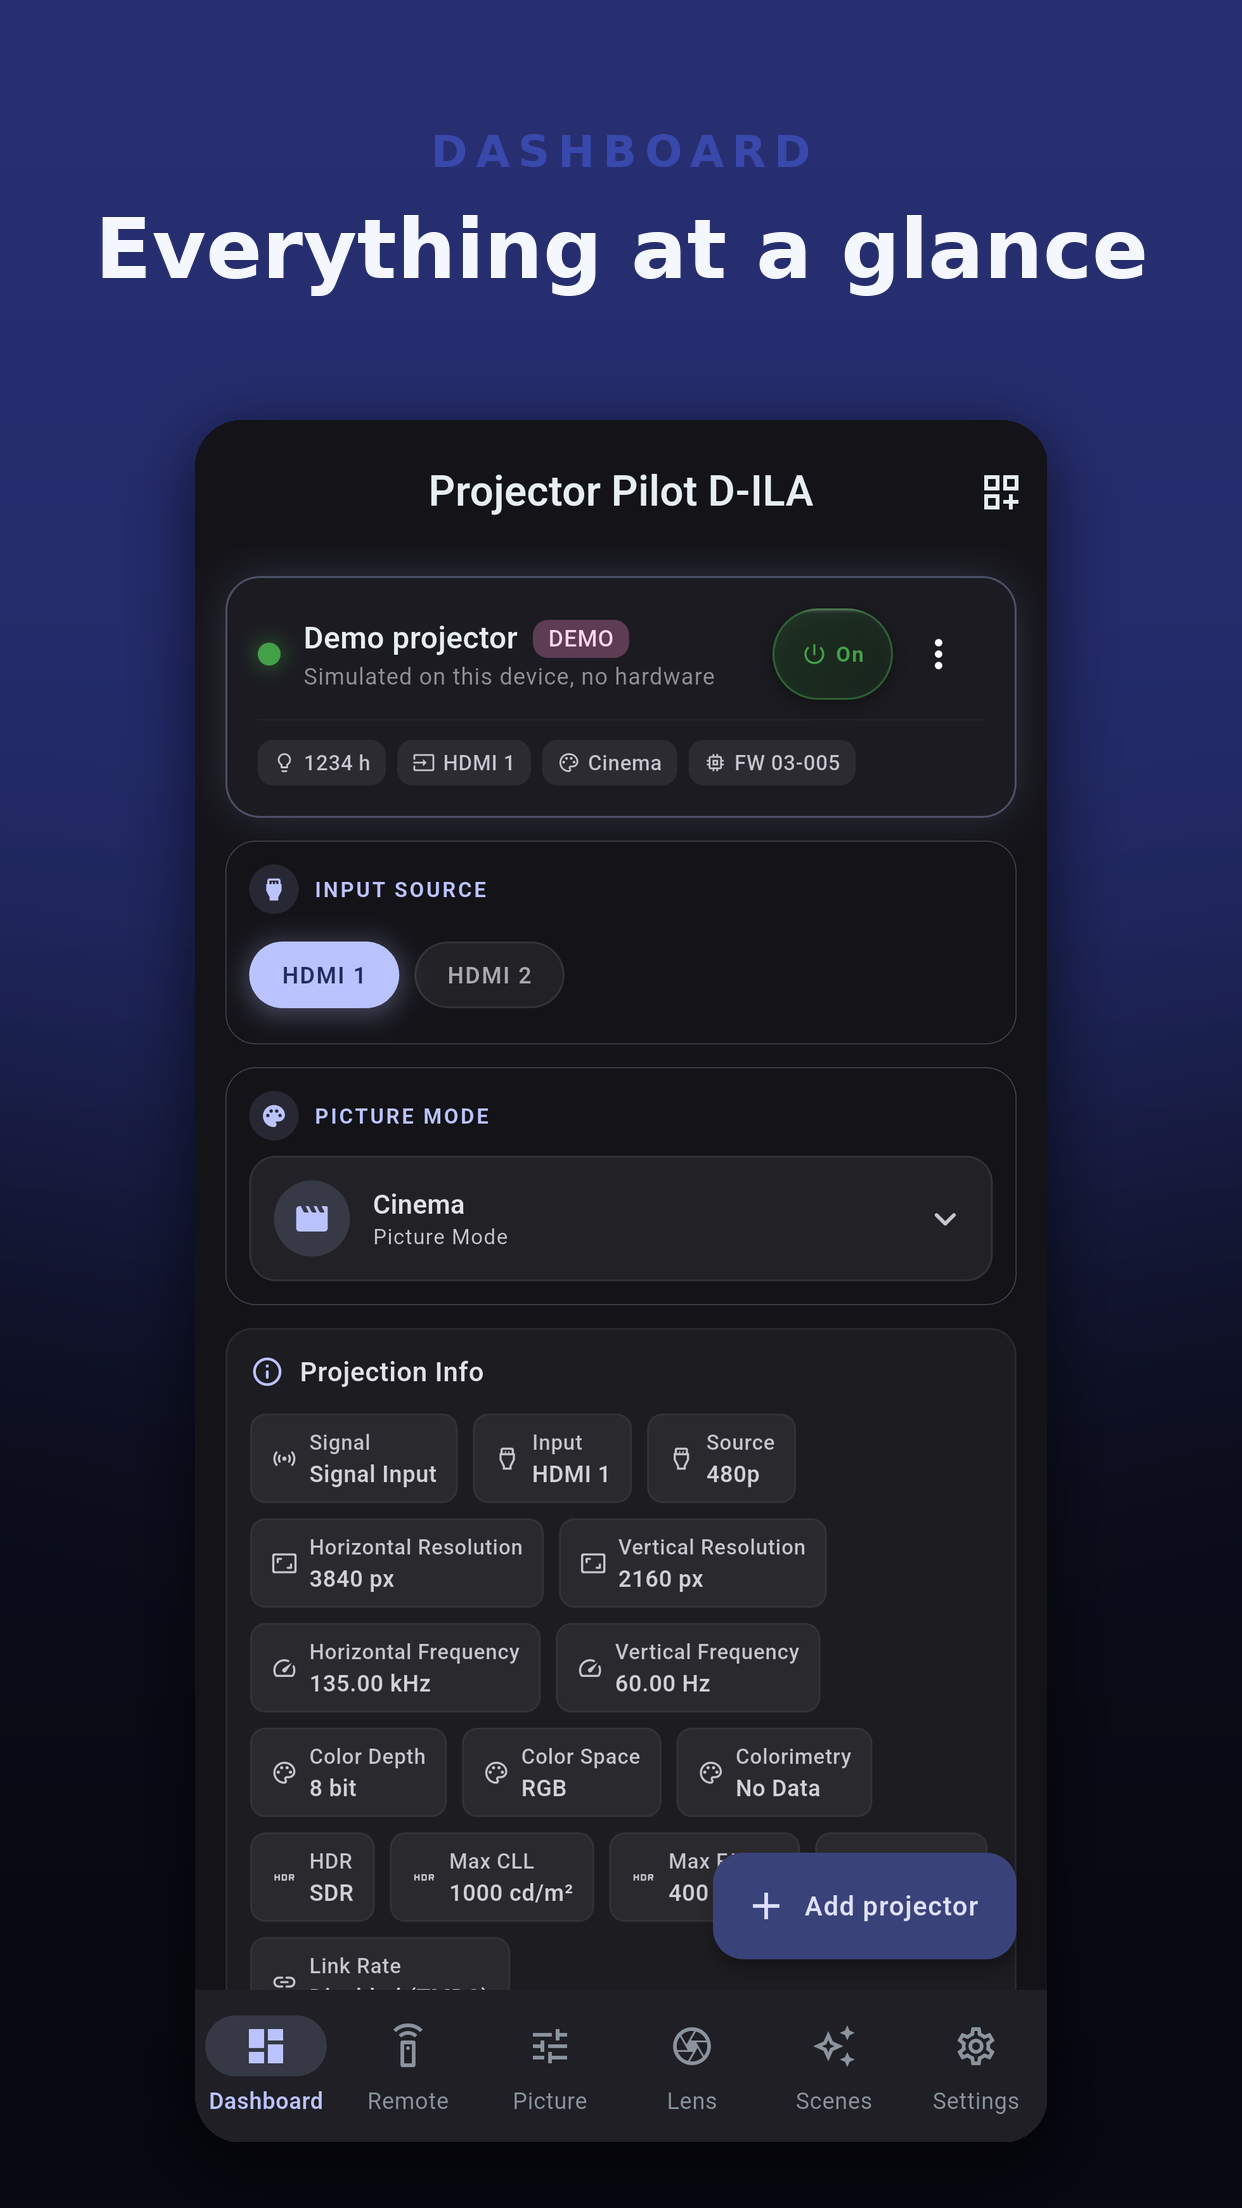
Projector Pilot D-ILA dashboard showing a JVC D-ILA projector after it was added
Option 2

Add it by IP address

Use this when the scan does not find the projector, or when it sits on another subnet your device can still reach.

  1. Name the projector, for example after the room it is in.
  2. IP address: the projector's IPv4 address, from its own network menu. Host names are not accepted.
  3. Network password: the one set on the projector. Leave it empty if the projector has no network password.
  4. Test connection. A good test shows "Connected" and the model the projector reported.
  5. Save. The projector appears on the dashboard. Saving the same projector twice is refused with "This projector is already saved."
The add screen uses the standard port 20554. To use a different port, run the guided setup below: its Control Port field carries the port into the add screen.
Option 3

Guided setup and diagnosis

"Trouble connecting? Run guided diagnosis" opens Set Up Projector. Enter the Projector IP Address and Control Port (20554 unless you changed it), then Diagnose Connection.

CheckWhat it proves
Same network as the projectorYour device and the projector share a subnet, so they can see each other.
Control port reachableSomething accepts a connection on the control port.
Projector handshake and passwordIt answers like a JVC projector, and the password, if any, is accepted.

When all three pass the result is "Connection works" with an Add This Projector button. When one fails, the screen names it and shows "What is happening" and "How to fix it". If the projector wants a password, a Network Password field and a Try Password button appear in place. Each diagnosis is listed on the help page.

Passwords

The network password

One controller

Only one app at a time

A JVC projector serves one network controller at a time. While Projector Pilot D-ILA is connected, Home Assistant, a control system or another phone cannot reach it, and the other way round.

New address

When the projector moves

The app learns the projector's MAC address when it connects. If three connections in a row reach nothing, the status reads "Searching the network" and the app looks across the subnet for that MAC address, up to three times. When exactly one projector matches, it moves the saved address there and reconnects. To set an address yourself, choose Edit connection from the projector's menu.
No projector at hand

The demo projector

Next

Keep going