The app signs in to your Home Assistant, adds the projector to Home Assistant's own JVC Projector integration, publishes your scenes and controls as scripts, and builds a dashboard. You never paste a token or write YAML. It needs the Home Automation add-on.
A JVC projector serves one network controller at a time. While this app is open and connected to the projector, Home Assistant cannot reach it. Home Assistant's projector controls and scripts work when the app is closed, and the app lets go of the projector when it goes to the background.
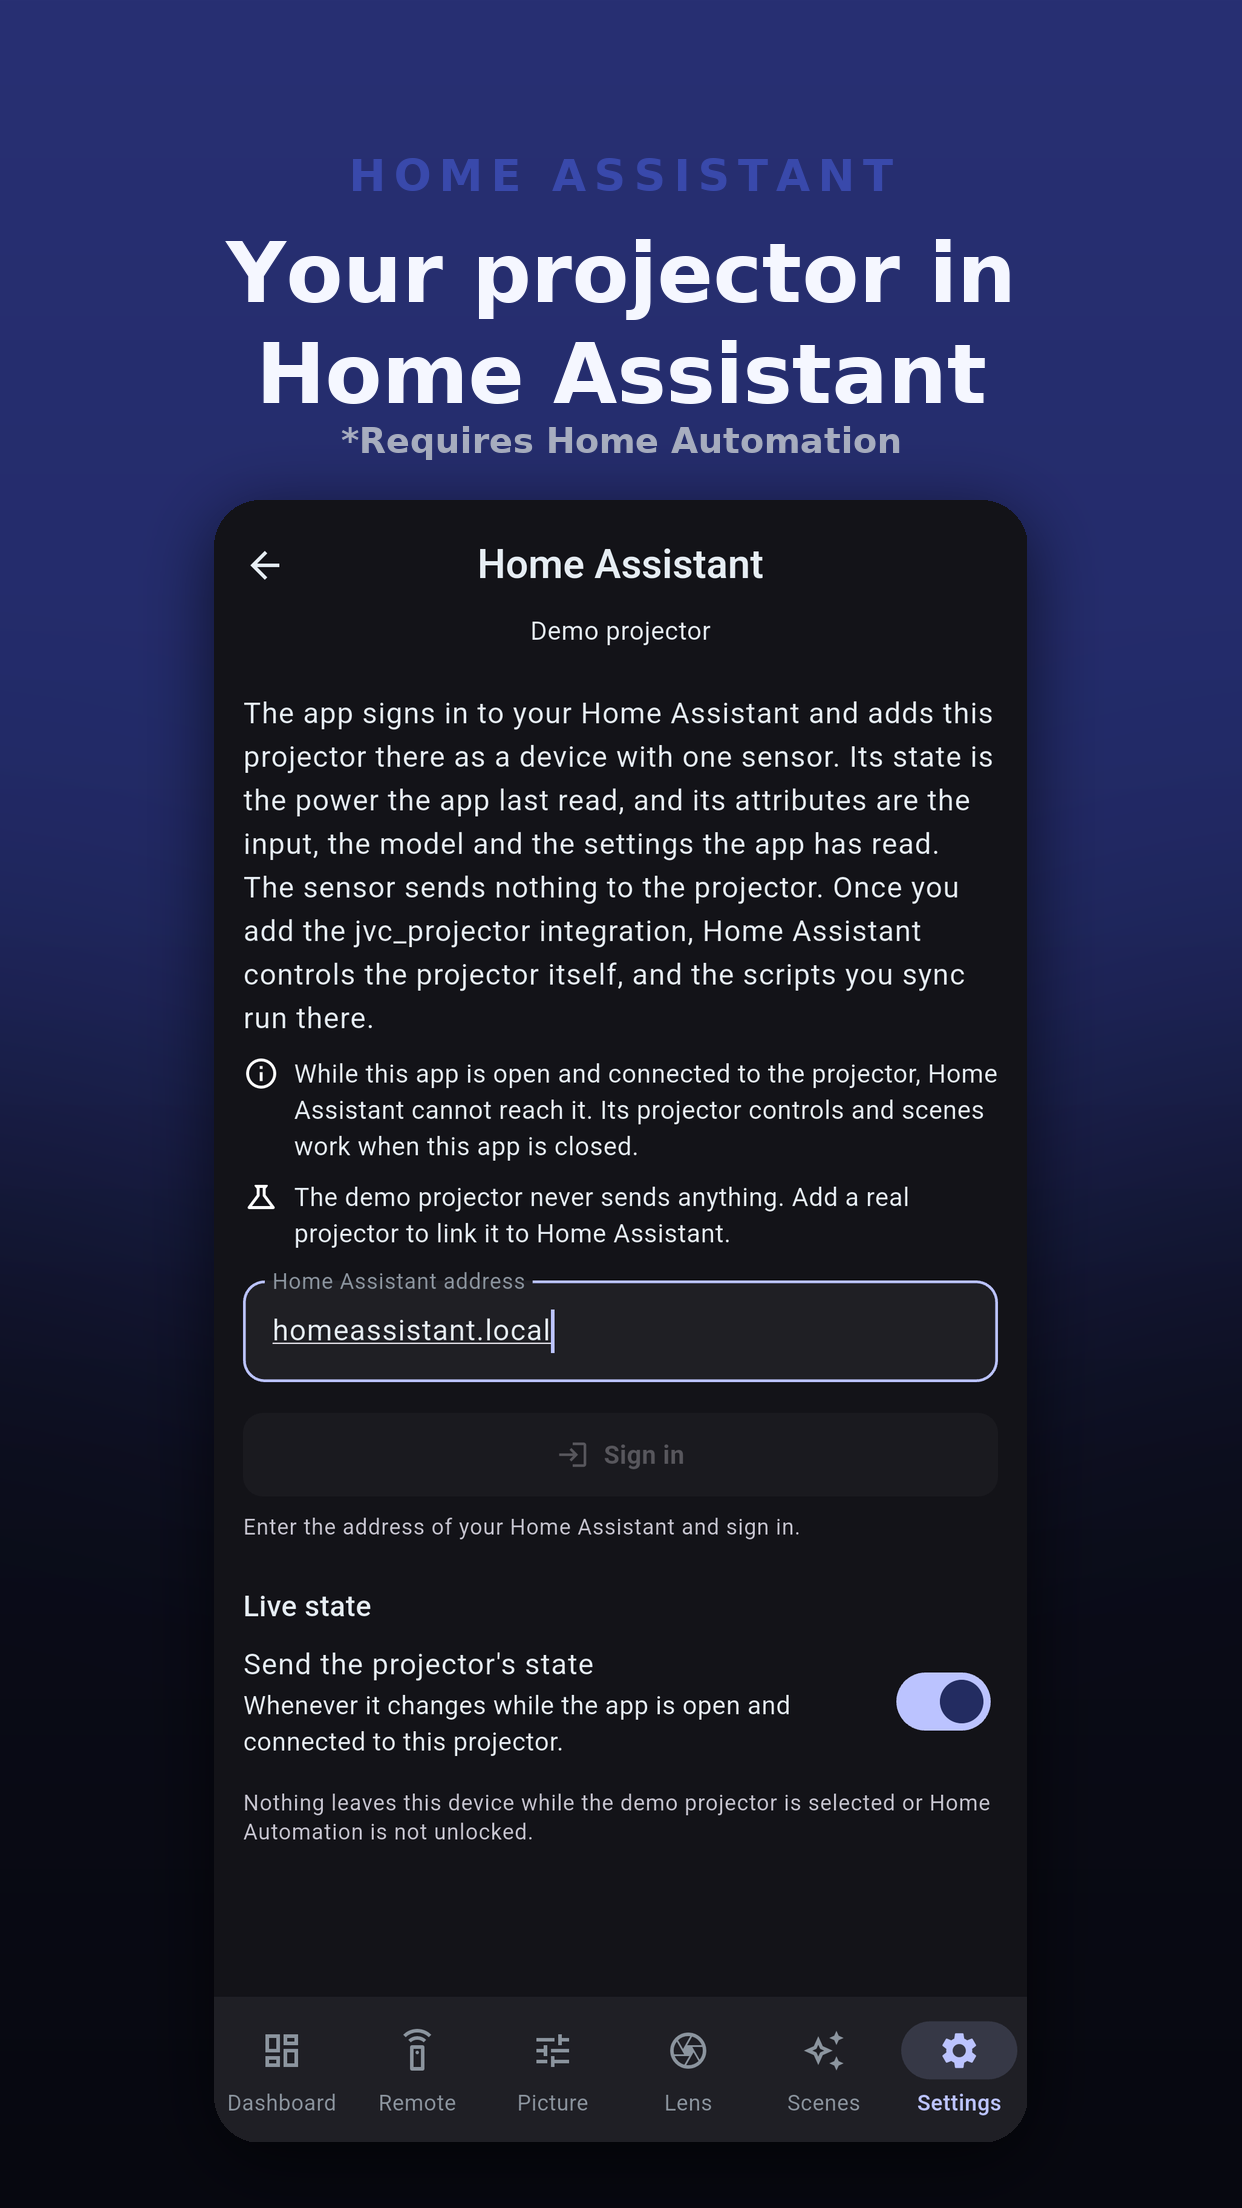
A panel reads your Home Assistant and marks each part Found, Not installed or Could not tell. Check again re-reads it.
| Part | Needed for |
|---|---|
| Mobile App integration | The live state sensor. |
| JVC Projector integration | Controlling this projector from Home Assistant. |
| HACS | Only the styled look of the dashboard. |
The app matches the JVC Projector entry by the projector's MAC address, so connect to the projector at least once first. If Home Assistant has no entry with that MAC, or more than one, the checklist says so and what to do. If the projector has moved, the app offers to send the new address to Home Assistant.
The sensor's state is the power the app last read, and its attributes are the input, the model and the settings the app has read. It goes through the Mobile App integration and sends nothing to the projector. It updates whenever the state changes while the app is open and connected.
Each saved scene becomes a script in Home Assistant that runs through the JVC Projector entities. A script holds no address and no password. Script ids start with ppjvc.
Send dashboard builds a projector dashboard in your Home Assistant from the JVC Projector entities, the scripts and the sensor. Copy dashboard copies it instead, to paste into a new dashboard yourself. Everything about it is on the Home Assistant dashboard page.
 Projector Pilot D-ILA